Cartoon Factory + Shader (Unreal Engine 4)
How to Set Up a New Level
First start by creating a level and opening it.
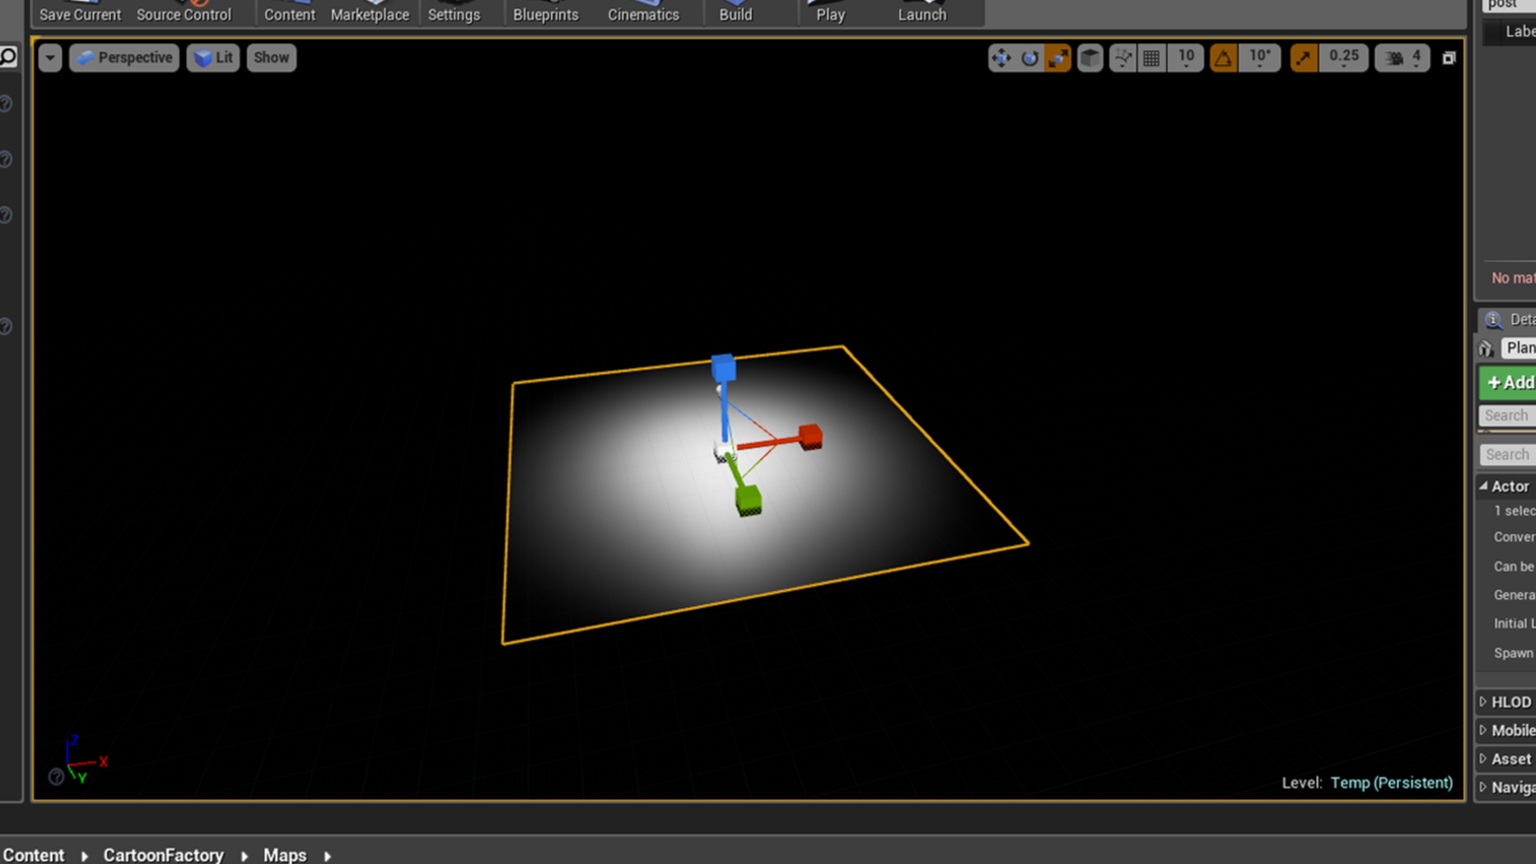
Next add a Plane and a Point Light to the Level from the “Place” menu.
With the Plane Selected find the "Details" tab and under Materials change the default material to "M_ConcreateFloor_1_BC"
Once this is done you can scale the plane to any size and the material will automatically scale with it.
Setting up the Shader
To set up a shader you can either copy the "PostProcessVolume" from my "ShowReel_Level" level in the "Maps" folder and paste it into your level to automatically apply it.
Alternatively if you want to set it up manually first add a "PostProcessingVolume" to you level and apply these settings.
First Set the Shadows Contrast's Y to 0.57
Next under film Set
Toe = 0.72
Shoulder = 0.0
Next under Lens set
Metering Mode = Auto Exposure Histogram
Min Brightness = -7.7
Max Brightness = 4
Then under Post Process Volume setting
Infinite Extent (Unbound) = True
Finally go to Rendering Feature > post Process Materials > Array
Click the "+"
Choose > Asset Reference
Click None then search for "MI_CartoonShader_1"
Now the Shader will be applied.
Now You can start building your level as you see fit.


